Over-the-Door Hooks to a Permanent Entryway Drop Zone in a Rental
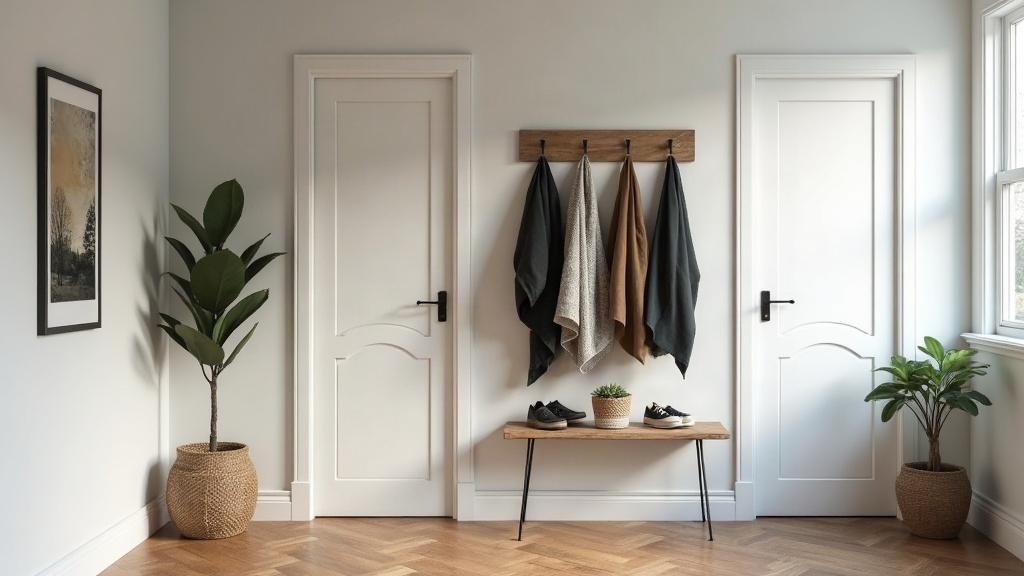
If your over-the-door hooks are groaning under coats, tote bags, and the dog leash, it might be time to upgrade to a real entryway drop zone, one that doesn’t cost you your security deposit. This guide walks through moving from a single door-mounted hook to a landing station that actually functions day to day, using nothing but renter-friendly tools: tension rods, adhesive strips, freestanding furniture, and a bit of smart zoning.
Why Over-the-Door Hooks Stop Working
Over-the-door hooks are a fine starting point, but they hit a wall fast once your routine gets busier:
- Limited weight capacity. Most can hold maybe 10-15 lbs combined before the hinge or the hook itself starts to bend.
- One category only. They’re good for coats, or bags, but rarely both, and they do nothing for keys, mail, or shoes.
- Door interference. Pile too much on, and the door starts sticking, slamming, or scraping against the frame.
- No “catch-all” surface. Hooks hang things, period. They can’t hold keys, wallets, or mail, so those end up scattered across your kitchen counter instead.
If you’re already stepping over shoes on the floor or hunting for your keys in three different bowls around the apartment, you’ve outgrown the single-hook setup.
Step 1: Audit What Actually Needs a Home
Before spending a dime, spend three days just noticing what you drop the second you walk in. In a typical studio, that usually breaks down into:
- Outerwear (coats, jackets, scarves)
- Bags (tote, backpack, gym bag)
- Shoes (usually 2-4 pairs in rotation)
- Keys and wallet
- Mail and packages
- Pet gear (leash, poop bags)
Write it down. This list becomes your zone map for the next step.
Step 2: Choose a Renter-Friendly “Furniture Anchor”
Rather than leaning on the door for everything, bring in a freestanding piece that acts as the visual and functional anchor of your drop zone:
- A slim console table or narrow shelf. Even something 12-16 inches deep works in a studio, enough for keys, mail, and a small tray.
- A boot tray or low shoe rack underneath it, so the shoe pile stops creeping across the floor.
- A coat rack or tree stand next to it. No wall mounting, no screws, just vertical storage you can pick up and move.
This furniture piece is really the turning point, the shift from “hooks on a door” to “an actual zone.” Suddenly every item has a surface or a spot of its own, not just a single hook to fight over.
Step 3: Layer in Damage-Free Wall Storage
With the furniture anchor in place, you can start building vertical storage using methods that leave zero trace:
- Heavy-duty adhesive hooks (rated 5-7 lbs each), matched to your wall texture. Test one inside a closet first before committing to the entryway wall.
- A tension rod wardrobe hack. Mount a spring-tension rod inside a shallow closet nook, or between two walls, and you can hang 4-5 coats without the door ever being involved.
- Command strip pegboards. A small adhesive-backed pegboard can hold keys, a mini calendar, maybe a mask or an umbrella, and it all peels off clean at move-out.
Spread things out across these surfaces. Loading one hook with everything just recreates the original problem; splitting weight across 4-5 points holds up better and, honestly, just looks calmer.
Step 4: Add a Catch-All Tray and Daily Reset Habit
Here’s the thing: entryway chaos is rarely a storage problem. It’s a habit problem. So add:
- One shallow tray or bowl for keys and wallet, positioned right at eye or hand level by the door.
- A small basket under the console for mail that still needs action, bills, packages to return, whatever’s pending.
- A 60-second “reset” rule. Every time you head out, grab whatever’s sitting in the tray or basket that needs to leave with you.
Step 5: Keep It Reversible for Move-Out
Everything described here comes apart just as easily as it went up:
- Furniture lifts and travels with you, no disassembly required.
- Tension rods pop out with no tools at all.
- Adhesive hooks and pegboards peel off cleanly, especially if you warm them slightly with a hairdryer first.
Snap a few photos of the wall before you start sticking anything up. That way you’ve got proof the surface goes back to exactly how you found it.
Conclusion
Getting past the over-the-door hook stage doesn’t mean drilling holes or risking your lease. It just means adding a furniture anchor, layering in a bit of renter-safe wall storage, and sticking to a quick daily reset. Do that, and you end up with an entryway that feels permanent, handles the daily traffic of real life, and still leaves the apartment exactly as you found it.