Organizing Camping and Travel Gear in a Shared One-Bedroom Apartment
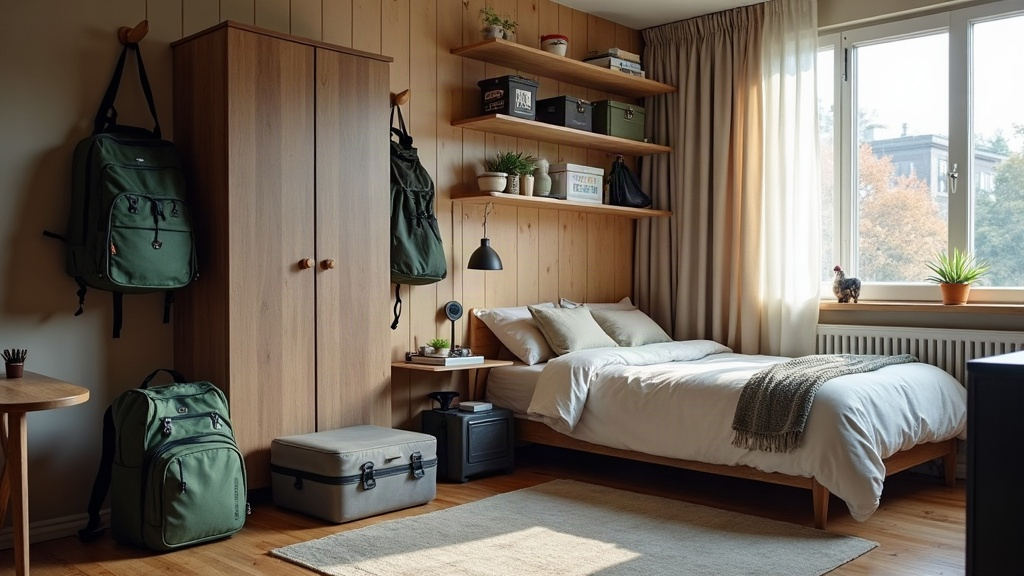
Storing Camping and Travel Gear in a Shared One-Bedroom Apartment
Living with a partner or roommate in a single bedroom means compromise. That’s doubly true when both of you are the type who can’t say no to a weekend trip. Try fitting two people’s outdoor gear into one apartment and you’ll quickly understand what a losing game of Tetris feels like. The blocks never fit right.
Bulky sleeping bags, an oddly shaped tent bag, a travel backpack that won’t stand up straight in the corner. Before you know it, your living room starts looking like a gear closet at REI. The good news? A little planning, some smart storage choices, and an honest conversation with your roommate can fix most of this without wrecking your apartment’s look or your patience.
Why Outdoor Gear Is So Hard to Store
Camping equipment just doesn’t behave like normal stuff. Trekking poles, camp stoves, hard-shell coolers: none of it folds flat into a dresser drawer the way a sweater does. Now put that problem in a shared bedroom and common area with limited square footage, and it gets worse fast.
The real trick to organizing gear in a small shared apartment isn’t buying more bins. It’s squeezing value out of space you’re currently wasting (under the bed, above the closet, behind doors) while being brutally honest about what you’ll actually use again.
Step 1: Dump Everything Out and Take Stock
Before you order a single storage bin online, pull every piece of gear you own into the middle of the room. Yes, it’ll look like a yard sale exploded. That’s fine. It’s a necessary mess.
- Sort by how often you actually use it. Daypacks, climbing shoes, anything you grab monthly, should stay within arm’s reach. A sub-zero sleeping bag you use twice a winter can go into deep storage.
- Count your duplicates. Two people rarely need three camp stoves. If you’ve both been hoarding gear from your single days, it’s time to sell one, donate one, or pass it to a friend.
- Fix it or ditch it. That sleeping pad with the slow leak you’ve been meaning to patch for six months? Patch it tonight or toss it. Broken gear taking up space is just clutter with a story attached.
Step 2: Hunt Down Your Hidden Storage Zones
In a one-bedroom, floor space is basically currency. So stop thinking in two dimensions. Look under things, above things, and behind things.
Under the Bed
This is prime territory for anything bulky and flat-ish. Low-profile, clear plastic bins on wheels work well here, slide them under, slide them out, done. Store sleeping bags loosely in breathable cotton sacks (stuffing them tight kills the loft over time), along with folded tents and packed-down travel backpacks. Bed frame sitting too low to fit anything underneath? A set of sturdy bed risers can buy you six extra inches, which adds up to a surprising amount of cubic storage.
Above the Closet and Kitchen Cabinets
Look up. That dead zone above your wardrobe or kitchen cabinets is often completely empty, and it’s perfect for lightweight bulky items nobody needs daily access to. A soft-sided duffel or a compressed sleeping mat tucks neatly into a woven basket or a fabric bin up there, and honestly, it looks intentional rather than like storage overflow.
Step 3: Let Your Furniture Do Double Duty
If you’re serious about organizing gear in a shared one-bedroom, your furniture can’t just sit there looking nice. It needs a job.
- Storage ottomans. One large ottoman in the living room can be a coffee table, a footrest, and secretly a cave big enough for a hammock, two camp chairs, and a pile of travel accessories.
- Trunks instead of TV stands. Swap the flat-pack TV console for a sturdy vintage trunk. It gives the room some character and hides your camp pots, pans, and that stash of dehydrated meals nobody talks about.
- Lift-top coffee tables. The compartment underneath is exactly the right size for packing cubes, a universal adapter, travel pillows, all the small stuff that otherwise ends up in a junk drawer.
Step 4: Build Up, Not Out
Can’t expand the floor plan? Use the walls instead. Getting gear up and off the ground clears visual clutter fast.
Mount heavy-duty hooks or a pegboard on the back of the bedroom or closet door. Pegboards are surprisingly versatile: headlamps, carabiners, cooking utensils, water bottles, all hung and visible instead of buried in a bin. Got bikes or a snowboard? A wall-mounted rack keeps them off the floor entirely. Sure, this makes your gear part of the room’s decor, but arranged with a little care, it actually reads as intentional, almost like you planned an “adventure loft” aesthetic on purpose.
Keeping the Peace When You Share Everything
None of this works without some ground rules. Living in one bedroom with another person already means negotiating shared space daily, so agree on a designated “gear zone” and stick to it. No wandering carabiners on the kitchen counter, no boots by the front door for three weeks straight.
And here’s the one rule that prevents most fights: after a trip, clean, dry, and put everything away within 48 hours. A damp tent draped over the couch for a week isn’t just messy, it’s a mildew problem waiting to happen, and it’s the fastest way to turn a fun weekend into a roommate argument.
Final Thoughts
You don’t need an off-site storage unit or a bigger apartment to make this work. Declutter without mercy, claim the space under your bed and above your cabinets, pick furniture that pulls double duty, and use your walls when the floor runs out. Do that, and your one-bedroom apartment stays livable, calm, and always ready for whatever trip you’re planning next. A little teamwork goes further than you’d expect.