Maximizing Vertical Wall Space for Indoor Houseplants Safely
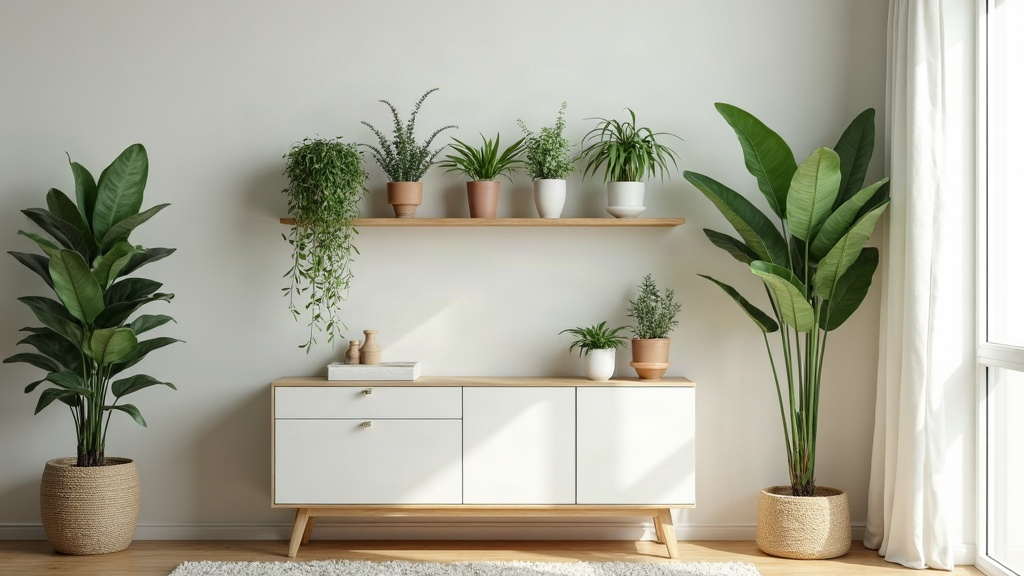
Why Vertical Space Matters for Plant Lovers
Got a windowsill that’s already a jungle and floor space running out fast? Going up is the obvious move. Walls give you:
- Square footage you’re already paying for and not using
- Better light near windows, which trailing or climbing plants love
- A chance to build a “living wall” focal point without buying another shelf
- Better airflow around your pots, which cuts down on pests and the occasional moldy soil surface
The tricky part is doing all this without leaving anchor holes, cracked plaster, or a sagging patch of drywall behind. If you rent, or if you just hate patching walls on a Sunday afternoon, this matters even more.
Know Your Wall Before You Mount Anything
Drywall on its own can’t hold much. Hit a stud, though, and the math changes completely. Before you mount anything, work out:
- Stud locations. A $10 stud finder will tell you in seconds. Studs hold dramatically more weight than bare drywall, sometimes the difference between a hook that lasts years and one that rips out in a week.
- Wall material. Plaster, brick, and drywall each need their own type of anchor. What works in a 1920s plaster wall will fail in modern drywall, and vice versa.
- Plant weight when wet. Soil soaks up water like a sponge. A 6-inch pot that weighs 2 lbs dry can hit 4-5 lbs right after watering. Always weigh it wet, not dry, before you trust a hook with it.
Damage-Free Mounting Methods That Actually Work
1. Command Strips and Hooks
Fine for lightweight plants, think under 3-5 lbs total, pot included. Go for the outdoor-rated or “heavy duty” lines since plants push up local humidity and standard indoor strips can lose their grip over time. Stick to the weight rating on the box. Two medium strips don’t somehow add up to one large, no matter how it feels like they should.
2. Tension Rods and Ladder Shelves
A tension rod wedged floor-to-ceiling, or a leaning ladder shelf, lets you stack plants vertically without touching the wall at all. Renters love these for a reason. A single ladder shelf can easily hold a trailing pothos on top, string of pearls on the middle rung, and a cluster of small succulents on the bottom, all with zero drilling.
3. Picture Rail Molding Systems
Plenty of older homes still have a picture rail running near the ceiling, a leftover from the days before drywall anchors existed. Adjustable cord-and-hook systems hang from this rail and let you suspend planters at staggered heights, nowhere near the wall surface below. No rail in your place? Some brands sell adhesive rail kits that stick only at the rail itself, not at every single hook point underneath.
4. Over-the-Door or Over-the-Window Hangers
These rely on gravity and the door or window frame you already have, not a single wall anchor. A kitchen herb garden hanging over the window, or a little plant corner draped over the bathroom door, both work well this way.
5. Small-Footprint Removable Hooks
For pots on the heavier side, use adhesive hooks rated specifically for drywall, not the generic “all-purpose” kind. Want to take one down without leaving a mark? Warm the adhesive pad with a hairdryer for about 30 seconds, then pull it slowly downward at a shallow angle instead of yanking it straight off the wall.
Designing a Vertical Plant Wall That Looks Great
- Group by light needs first, looks second. Sun-lovers go near the window cluster; shade-tolerant plants like pothos or a ZZ plant belong on interior walls further from the glass.
- Vary pot heights and depths. Stagger three or four different shelf or hook heights. A flat grid of identical pots reads as sterile, almost like a display at a garden center rather than someone’s home.
- Mix trailing and upright plants. A pothos or string of hearts spilling down above a stiff, upright snake plant gives the eye something to bounce between.
- Leave breathing room. Cram too many pots together and you trap humidity near the soil, which is basically an invitation for fungus gnats and mold.
Common Mistakes to Avoid
- Drilling or hooking straight into drywall without checking the weight limit first. This is, by far, the number one reason hooks rip out and take a chunk of paint with them.
- Forgetting that a watered pot weighs noticeably more than it did on the shelf at the store.
- Hanging plants right next to heating vents or AC units. Even the sturdiest mounting method won’t save a plant that’s getting blasted with hot or cold air all day.
- Using indoor-only adhesive hardware in a bathroom or kitchen, where steam and humidity break the bond down faster than you’d expect.
Quick Checklist Before You Hang Anything
- Identify wall type and stud locations
- Weigh the pot wet, not dry
- Match hook/strip weight rating with a safety margin
- Choose light-appropriate plant per wall zone
- Test removal method on a small test patch first
Final Thoughts
You genuinely don’t need to drill a single hole to pull off an impressive vertical plant display. Tension rods, picture rails, properly rated adhesive hooks, and a bit of respect for weight limits and humidity will get you there. Start with two or three plants, give the setup a week to prove itself, and only then start filling in the rest of the wall. Your drywall will thank you, and so will your security deposit.