Maximizing Blind Corner Kitchen Cabinets on a Budget
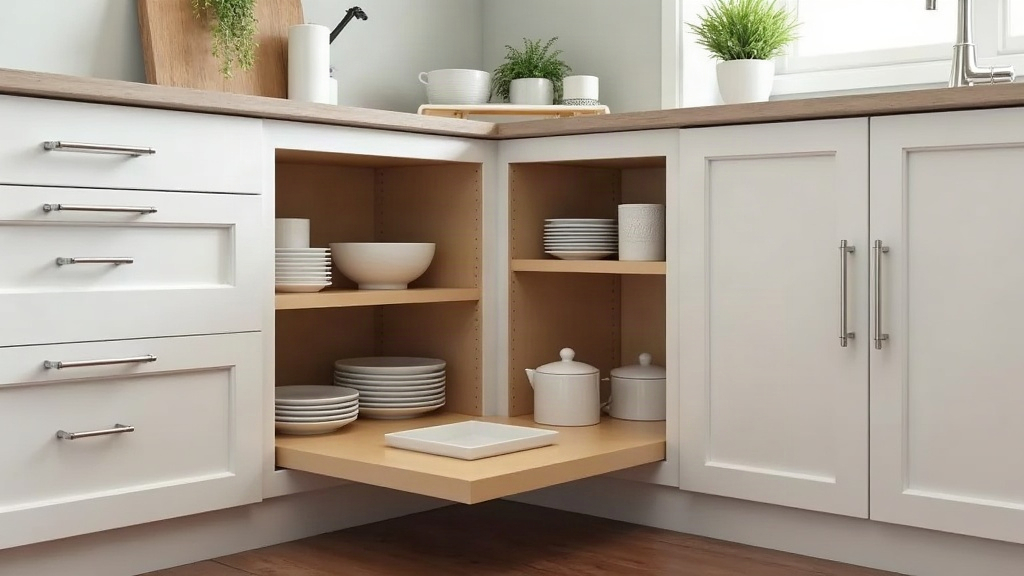
Blind corner kitchen cabinets (those deep, dark, L-shaped gaps where two counters meet) have a reputation for swallowing pots, lids, and small appliances whole. You reach in, feel around, and somehow that one lid you need is always six inches past your fingertips. Full pull-out systems like Rev-A-Shelf mechanisms run $150 to $400 installed, which is a lot to spend on a cabinet you mostly curse at. The good news: a handful of cheap organizers and a bit of smart layout thinking can get you 90% of the way to that premium pull-out experience.
Why Blind Corner Cabinets Are So Frustrating
It’s not a size problem. In fact, this is usually one of the biggest cabinets in the whole kitchen. It’s an access problem. The “blind” portion tucks behind the neighboring cabinet frame, so you’re digging into a space you literally cannot see, often on your knees, patting around blindly for a pot lid that’s slid god knows where.
Sound familiar? Common complaints include:
- Items get pushed further back and forgotten (some people find expired spice jars back there from two moves ago)
- Doors don’t open wide enough to actually see inside
- Bending and reaching triggers real back strain, especially for anyone over 40
- Wasted vertical space above whatever’s stacked at the bottom
Budget-Friendly Alternatives to Pull-Out Mechanisms
1. Lazy Susans (Full or Half-Moon)
A two-tier lazy susan is still the cheapest fix that actually works, usually $15 to $40 depending on the material. Look for:
- Full-round turntables if your cabinet has a single door opening straight into the corner
- Half-moon (kidney-shaped) turntables that hug the blind section tighter and swing out further than a full circle would
Quick tip: pick one with a raised lip edge. Otherwise bottles and jars go flying off the edge the moment you spin it.
2. Corner Shelf Risers or Stacking Shelves
Cheap wire or bamboo corner shelf units ($10 to $25 on Amazon or at a home store) turn one deep pile into two usable levels. Cans go on the bottom, spice jars or cutting boards go up top. No tools, no screws, no installation. You just drop them in.
3. Door-Mounted Racks
A slim rack mounted on the front cabinet door gives you a spot for the stuff you grab daily: foil, plastic wrap, cutting boards, spray bottles. Keep that at arm’s reach and you’ll rarely need to dig into the blind zone at all. It’s less about organizing the corner and more about avoiding it.
4. Bins and Labeled Baskets (the “Zone It” Method)
Stop storing loose items back there. Group similar tools into sliding bins or even dollar-store baskets you can pull out as one unit:
- One basket for baking supplies
- One basket for extra small appliances (the waffle maker you use twice a year)
- One basket for overflow pantry cans
Grabbing one basket beats fishing for a single can behind three other things, every time.
5. Repurpose the Blind Zone for Rarely-Used Items
Not everything needs to be within easy reach. Push the holiday roasting pan, the giant stockpot, or the seasonal fondue set into the deepest, darkest part of the cabinet, and keep the stuff you use weekly toward the front. This “zone by frequency” trick alone makes the whole space feel more organized, even before you buy a single organizer.
Step-by-Step: A Simple Weekend Fix
- Empty the entire cabinet and wipe it down (you’ll probably find something you forgot you owned).
- Measure the depth and width of both the visible section and the blind section.
- Pick one primary organizer, either a lazy susan or a shelf riser, sized to the largest usable footprint you measured.
- Add a door rack for the items you grab every day.
- Sort what’s left into labeled bins by category.
- Push the least-used items all the way into the blind corner.
Realistically, this whole project runs under $50 and takes less than two hours, including a coffee break.
When It’s Worth Upgrading to a Pull-Out System
If you’re mid-remodel already, dealing with chronic mobility issues, or truly cannot reach that corner no matter what, a professional pull-out mechanism earns its price tag. But for most households? A lazy susan, a few bins, and some basic zoning solve nearly all the frustration for a fraction of the cost.
Conclusion
Blind corner cabinets don’t have to stay wasted space or a daily headache. With cheap tools like turntables, stacking shelves, door racks, and a simple zoning habit, that awkward corner can turn into storage that actually works for you, no expensive pull-out mechanism required.