How to Organize and Hide Power Strips Under a Glass-Top Floating Desk
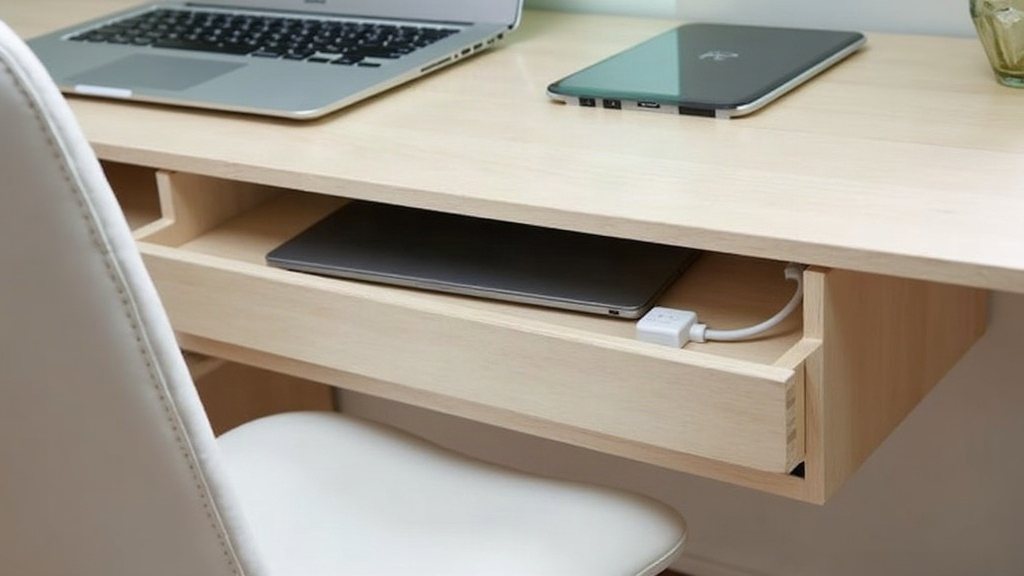
A glass-top floating desk looks fantastic in photos, right up until you glance underneath and spot a tangled mess of power strips, chargers, and cords all fighting for space. Because the glass is see-through and there’s no drawer or side panel to hide behind, every single cable is on full display. The fix isn’t complicated, but it does take a few layers: get the power strip out of sight, corral the loose cords into channels, and send everything toward one tidy exit point near the wall.
Why Glass-Top Floating Desks Are Tricky for Cable Management
A regular desk usually has a modesty panel or closed legs doing the dirty work of hiding cords. A floating desk has none of that. It’s open on nearly every side. Glass makes things worse, honestly, because it catches light and throws shadows, so even a strip you think is “hidden” underneath can still be visible depending on where you’re sitting. Three problems stack up here:
- No enclosure: nothing naturally blocks the view of cords.
- Wall-mounted brackets: limited space to attach accessories without drilling extra holes.
- Glass surface: adhesive mounts can slip or leave marks if they’re not rated for the weight.
Fixing this means thinking in three directions at once: vertically (what’s stuck to the underside), horizontally (how the cords travel to the outlet), and visually (what you actually see when you sit down).
Step 1: Mount the Power Strip Underneath, Not on the Floor
This one change makes the biggest difference. Get the power strip off the floor entirely and attach it to the underside of the desk.
- Use a power strip tray or basket that straps or screws into the desk’s support frame or wall bracket, never into the glass.
- Pick a strip with a flat, horizontal plug layout instead of a bulky block, so it actually fits into shallow trays.
- Position it toward the back edge, near the wall, so your body and chair naturally block it when you’re seated.
Got a metal bracket system? Most trays come with adjustable straps that clamp right onto the bracket, no drilling, nothing touching the glass. One warning: skip adhesive hooks rated under 5 lbs. A power strip loaded with plugged-in cables weighs more than it looks like it would.
Step 2: Bundle Cables Before They Reach the Strip
Loose, dangling cables are honestly worse to look at than the strip itself. Before plugging anything in:
- Group cables by device: monitor, laptop charger, desk lamp, speakers.
- Use Velcro cable ties rather than zip ties. They’re reusable, which matters the moment you rearrange your setup (and you will).
- Feed the grouped bundle through a cord sleeve, a fabric tube that zips shut around several cables, running from the device straight to the power strip.
One neoprene sleeve can take five separate wires and turn them into a single clean line that practically disappears against the glass.
Step 3: Use a Cable Raceway Along the Desk Edge
If you want things truly invisible from the front, attach a slim cable raceway or channel to the underside edge of the desk, running front-to-back or side-to-side, whichever direction matches your outlet location.
- Adhesive-backed raceways stick fine to wood or metal underside surfaces. Never put them on the glass top.
- Pick a channel with a removable lid so you can add more cables later without tearing the whole thing apart.
- Match the raceway color to the desk’s underside, white, black, or wood tone, so it blends in instead of standing out like a strip of tape.
Step 4: Route Cords to a Single Exit Point
Don’t let cords drop down in three or four separate spots. Funnel everything to one single drop point near a wall or leg instead.
- If your setup allows it, drill a small grommet hole in a nearby wall-mounted cable box (again, never through the glass).
- Use a cord cover, the half-round plastic or fabric strip typically sold for baseboards, to guide the bundle down the wall toward the outlet.
- Renting and can’t touch the walls? A freestanding cord clip track stuck to the floor or baseboard gets you almost the same result.
Step 5: Hide What’s Left with a Privacy Panel
Still seeing a hint of cable through the glass? A thin under-desk privacy panel or modesty board, made of fabric, acrylic, or wood, clipped to the frame beneath the glass blocks the view completely while keeping that airy, floating look intact from the front.
Quick Checklist
- Power strip mounted in a tray, not sitting on the floor
- Cables grouped and sleeved before reaching the strip
- Raceway or channel hides the main cable run
- All cords exit through one point near the wall
- Optional privacy panel for full concealment
Conclusion
Keeping a glass-top floating desk free of visible cables isn’t about one magic gadget. It’s about stacking small fixes on top of each other: mount the strip, bundle the cords, channel the run, consolidate the exit point. Do all four and that minimalist glass desk of yours will actually look minimalist, even with a laptop, monitor, lamp, and charger all crammed underneath.