Beginner Drawer Dividers vs. Advanced DIY Acrylic Inserts
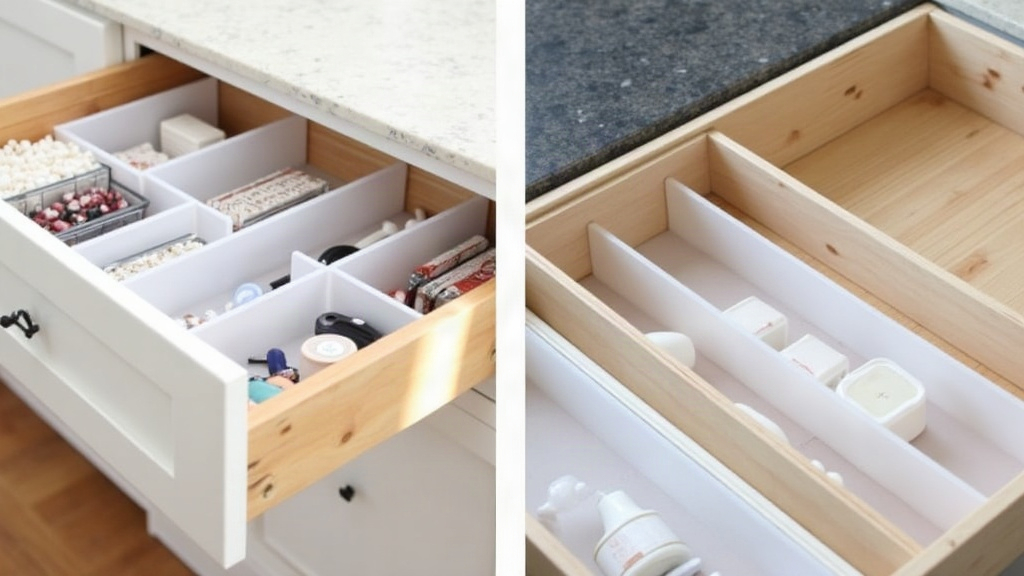
If your desk drawer looks like a junk drawer that accidentally ended up at your workstation (pens rolling loose, three chargers tangled together, sticky notes stuck to nothing in particular), you’ve basically got two paths forward. Buy a set of ready-made dividers and call it a day, or spend an afternoon cutting custom acrylic inserts that fit your drawer like a glove. Same end goal, wildly different cost, effort, and payoff. Here’s how to figure out which one actually fits your situation.
Beginner Option: Ready-Made Drawer Dividers
If you want order without drama, pre-made dividers are the move. They usually show up as expandable plastic or bamboo trays, adjustable mesh grids, or snap-together modular bins.
Why Beginners Love Them
- Zero tools required. Most are spring-loaded or interlocking. Drop them in, slide them to width, done.
- Affordable. Basic sets run $8 to $25, so it’s low-risk if you’re just testing whether an organization system will actually stick.
- Instant results. Ten minutes, maybe less, and you’ve gone from chaos to categories.
- Reversible. Hate the layout? Swap pieces around or pull them out entirely. No damage, no commitment.
Where They Fall Short
- Generic fit. These are built for “average” drawers, so if yours is shallow, oddly shaped, or narrower than standard, you’ll end up with gaps you can’t do anything about.
- Limited customization. Good luck carving out a precise slot for a coiled charging cable or a single stapler. These trays weren’t designed with your weird stuff in mind.
- Material quality varies. The cheap plastic sets can warp or crack after a few months of daily opening and closing. Not exactly built for the long haul.
If you just need a quick fix, share the desk with someone else, or aren’t ready to commit to something permanent, this is your lane.
Advanced Option: Custom DIY Acrylic Inserts
Want something that actually looks intentional, like it was made for your drawer because it was? That means cutting your own acrylic inserts: measuring precisely, sketching a layout, and cutting clear or frosted sheets to fit.
What the Process Looks Like
- Measure your drawer. Inside length, width, depth, and don’t forget to account for hardware like drawer slides that eat into your usable space.
- Sketch a layout. Group by function, writing tools in one zone, tech accessories in another, notepads somewhere else, and size each compartment to match.
- Choose your acrylic. 3mm to 5mm thickness is the sweet spot for most drawers. Frosted acrylic is the better pick if you’re tired of seeing every fingerprint and dust speck on clear plastic.
- Cut the pieces. A basic acrylic cutter and a straightedge handle simple slots fine. For interlocking joints, a laser cutter (or a nearby makerspace with one) gives you cleaner, tighter results.
- Assemble with slot-and-tab joints or acrylic cement. Design tab-and-groove connections and you can skip drilling entirely.
Why Advanced Users Choose This Route
- Exact fit. Every compartment is sized for the actual item that lives there. No dead space, no compartments that are too big for what you put in them.
- Durability. Acrylic just holds up better, no warping, no staining, no cracking after six months of use like the bargain-bin plastic dividers.
- Aesthetic upgrade. Clear or frosted acrylic has that clean, minimalist look that photographs well and matches a tidy desk setup.
- Scalable design. Nail the template once and you can reuse it for every drawer in the house, filing cabinets, even the bathroom vanity.
The Trade-Offs
- Time investment. Budget 1 to 3 hours total for measuring, designing, cutting, and assembly. It’s not a ten-minute job.
- Upfront cost. Acrylic sheets plus cutting tools or a laser-cutting service will run somewhere between $20 and $60, depending on size and finish.
- Skill curve. Cutting acrylic cleanly takes a bit of practice. Rush it and you’ll crack a sheet or end up with edges rough enough to snag on fabric.
Which One Should You Choose?
- Go with beginner dividers if you want something fixed by tonight, your drawer is a normal size, or your budget is tight.
- Go with DIY acrylic inserts if your drawer is an odd shape, you want something that’ll still look good in five years, or you just enjoy a hands-on project and already own basic cutting tools.
There’s also a smart middle path: start with cheap dividers to figure out what compartment sizes actually work for your stuff, then use those exact measurements later when you’re ready to build the acrylic version. Think of it as a rough draft before the final copy.
Final Thoughts
Ready-made dividers and custom acrylic inserts both get you to the same place: a drawer that actually makes sense instead of one you dread opening. What decides it for you is time, budget, and how much you care about the finished look. Start simple if you’re not sure this whole organization thing will stick. Go custom if you’re ready to build something that’s actually meant to last.