Tiny Pantry Upgrade: From Baskets to a Minimalist Decanting System
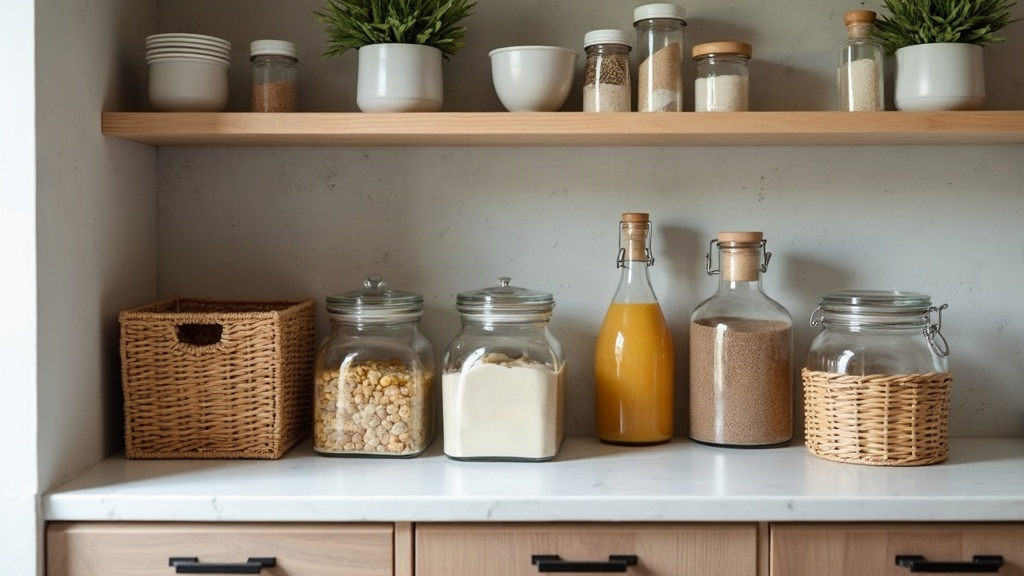
If you started out with a few baskets tossed on your pantry shelves, you’ve probably already noticed the problem: they hide the mess, but they don’t actually fix it. Baskets corral clutter. They don’t maximize space, and they definitely don’t help you see what’s actually in stock. Moving from basic baskets to a full minimalist decanting system is the logical next step, especially if you’re working with a small pantry and need every single inch to pull its weight. Below, I’ll walk through why decanting beats baskets on their own, how to pick the right containers, and a realistic, budget-friendly plan for making the switch without gutting your pantry in one exhausting weekend.
Why Baskets Alone Fall Short in Small Pantries
Baskets aren’t a bad starting point. They group like items together and hide visual chaos fast. But in a tiny pantry, their limitations show up quickly:
- Wasted vertical space: bags and boxes inside a basket leave awkward air gaps you can’t do anything about.
- Inconsistent shapes: irregular packaging (think a half-crushed cereal box next to a round oatmeal canister) makes stacking a losing battle.
- Hard to see contents: you still end up digging through the basket to find out if there’s any rice left.
- Shelf depth loss: baskets usually need to be pulled all the way out to check what’s inside, which gets old fast in a narrow pantry.
A decanting system fixes this by swapping bulky, irregular packaging for uniform, stackable, see-through containers. Baskets don’t disappear, they just get demoted to a supporting role, handling the miscellaneous stuff that doesn’t need decanting.
What a Full Decanting System Actually Looks Like
In a minimalist decanting system, every dry good, flour, rice, pasta, oats, sugar, nuts, cereal, snacks, lives in a clear, labeled, uniform container. Baskets then get reassigned to:
- Produce that shouldn’t be sealed up (onions, potatoes)
- Snack variety packs with mismatched sizes
- Cleaning supplies or non-food overflow
- Backstock waiting its turn to be decanted
This hybrid approach is what keeps the whole thing practical instead of turning into an all-or-nothing project. You don’t need to decant every last thing in your pantry, just the high-volume staples that actually benefit from uniform storage.
Step-by-Step: Making the Transition
1. Audit What You Actually Buy Repeatedly
Before you buy a single container, write down the 10-15 staples you restock most often. In a tiny pantry, trying to decant everything isn’t realistic, and honestly, it’s not necessary either. Start with what you actually use on a weekly basis.
2. Choose One Container Shape and Material
Consistency is what makes a pantry look genuinely minimal, not just “matching for a photo.” A few rules of thumb:
- Square or rectangular containers beat round ones. They use roughly 15-20% more of your shelf space efficiently; round containers leave those annoying curved gaps between them.
- Stick to one brand or line so lids are interchangeable and stacking actually behaves predictably.
- Clear BPA-free plastic or glass, depending on budget. Glass looks sharper, but it adds real weight, which matters if you’re loading up a high shelf above eye level.
3. Measure Before You Buy
A tiny pantry has zero tolerance for guesswork. Measure shelf height, depth, and width first. Then buy 2-3 sample containers, not a full 20-piece set, and see how they actually sit on your shelves before committing real money.
4. Decant in Phases, Not All at Once
Trying to decant an entire pantry in one weekend is how these projects end up half-finished with containers still in their shrink wrap three months later. Break it up instead:
- Week 1: Baking staples (flour, sugar, baking soda)
- Week 2: Grains and pasta
- Week 3: Snacks and cereal
- Week 4: Labeling and fine-tuning placement
5. Label Everything Simply
Skip the elaborate, hand-lettered labels. A basic label maker or a chalkboard sticker with just the item name does the job. In a small pantry, overly designed labels end up competing for visual space you don’t have to spare.
6. Repurpose Your Old Baskets
Don’t toss them. Move your baskets to the top shelf for backstock, or the bottom shelf for produce. That way the money you already spent on them isn’t wasted, it’s just doing a different job now.
Common Mistakes to Avoid
- Buying too many container sizes. Cap it at 2-3 sizes for a small pantry; more than that and the “uniform” look falls apart.
- Decanting short-shelf-life perishables you won’t go through fast enough. Check expiration dates before you commit a container to them.
- Ignoring shelf height. Tall containers under low shelves create dead space above them that you’ll never use.
- Forgetting backstock storage. Keep a small overflow bin on hand so you’re not refilling a container mid-recipe with flour everywhere.
Is It Worth the Investment?
Expect to spend somewhere between $80 and $200 for a full decanting setup in a small pantry, depending on container quality. What you get back: faster meal prep, less food waste (because you can actually see what’s running low), and a pantry that both looks better and works better. If you’re renting or living in a small apartment, this is honestly one of the highest-impact organization upgrades you can make per square foot of shelf space.
Conclusion
Moving from basic baskets to a full minimalist decanting system isn’t about chasing a Pinterest trend. It’s about making a tiny pantry function like a much bigger one. Start with your most-used staples, settle on one consistent container style, spread the transition across a few weeks, and let your baskets handle the stuff that was never going to decant well anyway. What you end up with isn’t just a tidier-looking pantry, it’s one that’s genuinely easier to use every single day.